> ## Documentation Index
> Fetch the complete documentation index at: https://ona.com/docs/llms.txt
> Use this file to discover all available pages before exploring further.
# SCIM Provisioning
Available on the Enterprise plan. Currently in **beta**. [Contact sales](https://ona.com/contact/sales) to learn more.
SCIM (System for Cross-domain Identity Management) lets your identity provider automatically create, update, and deactivate user accounts in Ona. Instead of manually inviting users or removing access, your IdP pushes changes to Ona as they happen in your directory.
## How it works
When SCIM is configured, your identity provider communicates with Ona through a SCIM endpoint using a bearer token for authentication. Changes in your IdP directory — such as adding a new employee or disabling an account — are automatically reflected in your Ona organization.
SCIM provisioning is linked to an existing [SSO login provider](/ona/sso/overview). The linked SSO configuration determines how provisioned users authenticate when signing in to Ona.
## Prerequisites
* An active [SSO login provider](/ona/sso/overview) configured in your organization
* Admin-level access to your organization settings in Ona
* Admin access to your identity provider (e.g., Microsoft Entra ID)
## Setting up SCIM in Ona
### Step 1. Open SCIM configuration
Navigate to **Organization Settings > Login and Security**. Scroll to the **SCIM Provisioning** section.
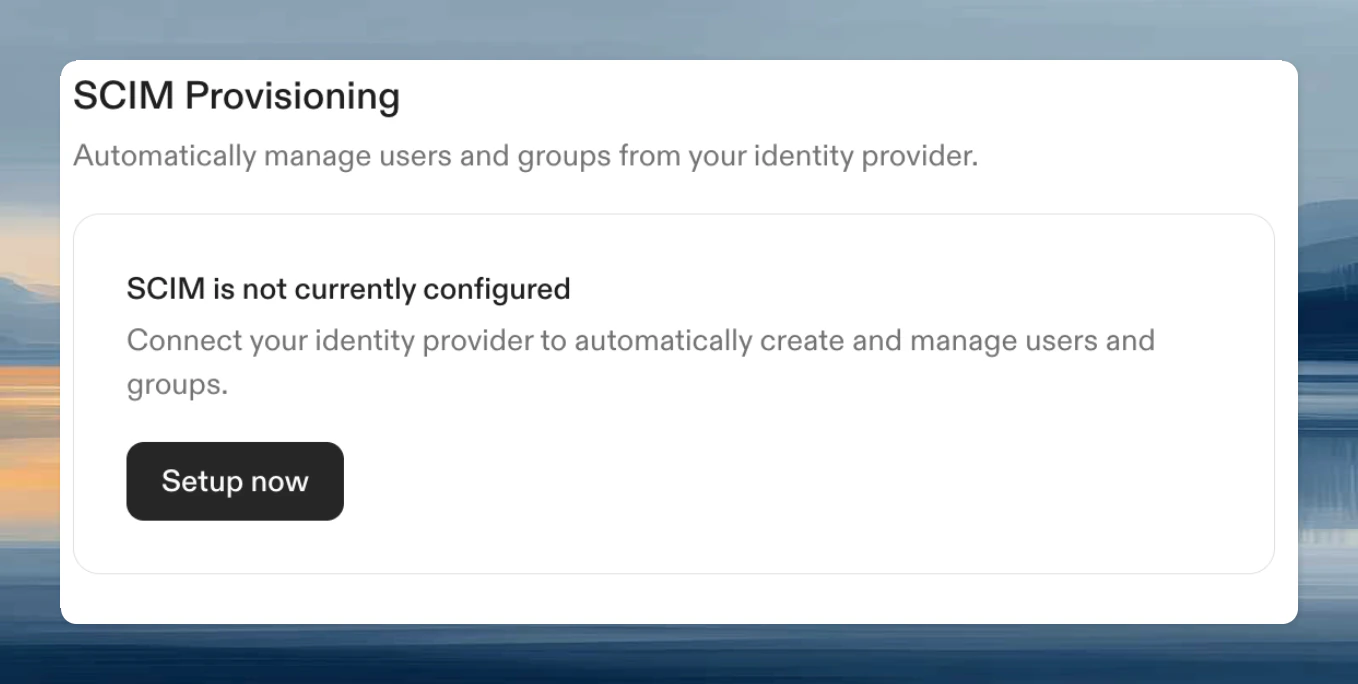 *SCIM Provisioning — initial state*
Click **Setup now** to begin.
### Step 2. Create a SCIM configuration
In the configuration dialog:
1. Select the **Linked SSO configuration** — this is the SSO provider that provisioned users will use to sign in
2. Enter a **Name** for this SCIM configuration
3. Click **Create**
*SCIM Provisioning — initial state*
Click **Setup now** to begin.
### Step 2. Create a SCIM configuration
In the configuration dialog:
1. Select the **Linked SSO configuration** — this is the SSO provider that provisioned users will use to sign in
2. Enter a **Name** for this SCIM configuration
3. Click **Create**
 *New SCIM configuration — select SSO provider and name*
After creation, Ona displays the **SCIM endpoint URL** and a **bearer token**.
Copy the bearer token immediately. It is shown only once and cannot be retrieved later.
You will need both the endpoint URL and the token to configure your identity provider in the next step.
## Configuring your identity provider
### Microsoft Entra ID
#### Creating an Enterprise Application
If you don't already have an Enterprise Application for Ona, create one:
1. Open the [Microsoft Entra admin center](https://entra.microsoft.com/)
2. Navigate to **Enterprise Applications**
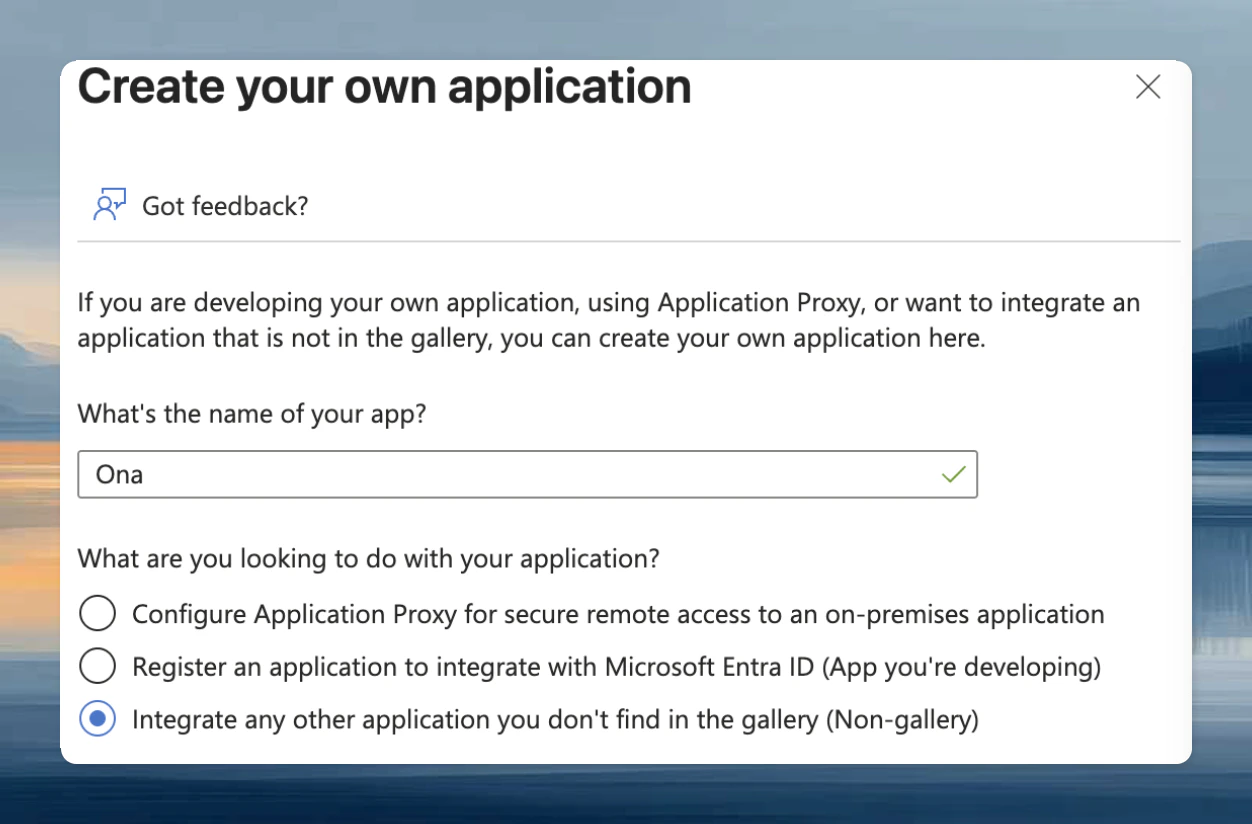
3. Click **New application**, then select **Create your own application**
4. Enter a name for the application (e.g., `Ona`)
5. Select **Integrate any other application you don't find in the gallery (Non-gallery)**
6. Click **Create**
*New SCIM configuration — select SSO provider and name*
After creation, Ona displays the **SCIM endpoint URL** and a **bearer token**.
Copy the bearer token immediately. It is shown only once and cannot be retrieved later.
You will need both the endpoint URL and the token to configure your identity provider in the next step.
## Configuring your identity provider
### Microsoft Entra ID
#### Creating an Enterprise Application
If you don't already have an Enterprise Application for Ona, create one:
1. Open the [Microsoft Entra admin center](https://entra.microsoft.com/)
2. Navigate to **Enterprise Applications**
3. Click **New application**, then select **Create your own application**
4. Enter a name for the application (e.g., `Ona`)
5. Select **Integrate any other application you don't find in the gallery (Non-gallery)**
6. Click **Create**
 *Microsoft Entra — create a non-gallery enterprise application*
#### Configuring provisioning
1. In the [Microsoft Entra admin center](https://entra.microsoft.com/), navigate to **Enterprise Applications** and select the application you created for Ona
2. Go to **Provisioning** and select **Provisioning** again
3. Set **Provisioning Mode** to **Automatic**
4. Under **Admin Credentials**, configure the following:
* **Authentication Method**: Bearer Authentication
* **Tenant URL**: Paste the SCIM endpoint URL from Ona
* **Secret Token**: Paste the bearer token from Ona
5. Click **Test Connection** to verify the configuration
Once the test succeeds, save the configuration and enable provisioning.
### Scoping users
We recommend provisioning only the users who will use Ona, rather than your entire directory. You can control this with scoping filters in your identity provider.
In Microsoft Entra:
1. In the **Provisioning** tab, select **Mappings**
2. Open the mapping for **Users** or **Groups**
3. Under **Source Object Scope**, add a **Scoping Filter Group** to limit which users are provisioned
For details on building scoping filters, see [Microsoft's scoping filter documentation](https://learn.microsoft.com/en-us/entra/identity/app-provisioning/define-conditional-rules-for-provisioning-user-accounts?pivots=app-provisioning).
## Restricting account creation to SCIM
Once SCIM is configured and enabled, you can require that all organization access goes through SCIM by enabling the [Restrict account creation to SCIM](/ona/organizations/policies/scim-account-restriction) policy. When enabled, users who can authenticate via SSO but are not provisioned through SCIM are blocked from joining the organization.
This is useful when you want your identity provider to be the single source of truth for who has access to Ona.
*Microsoft Entra — create a non-gallery enterprise application*
#### Configuring provisioning
1. In the [Microsoft Entra admin center](https://entra.microsoft.com/), navigate to **Enterprise Applications** and select the application you created for Ona
2. Go to **Provisioning** and select **Provisioning** again
3. Set **Provisioning Mode** to **Automatic**
4. Under **Admin Credentials**, configure the following:
* **Authentication Method**: Bearer Authentication
* **Tenant URL**: Paste the SCIM endpoint URL from Ona
* **Secret Token**: Paste the bearer token from Ona
5. Click **Test Connection** to verify the configuration
Once the test succeeds, save the configuration and enable provisioning.
### Scoping users
We recommend provisioning only the users who will use Ona, rather than your entire directory. You can control this with scoping filters in your identity provider.
In Microsoft Entra:
1. In the **Provisioning** tab, select **Mappings**
2. Open the mapping for **Users** or **Groups**
3. Under **Source Object Scope**, add a **Scoping Filter Group** to limit which users are provisioned
For details on building scoping filters, see [Microsoft's scoping filter documentation](https://learn.microsoft.com/en-us/entra/identity/app-provisioning/define-conditional-rules-for-provisioning-user-accounts?pivots=app-provisioning).
## Restricting account creation to SCIM
Once SCIM is configured and enabled, you can require that all organization access goes through SCIM by enabling the [Restrict account creation to SCIM](/ona/organizations/policies/scim-account-restriction) policy. When enabled, users who can authenticate via SSO but are not provisioned through SCIM are blocked from joining the organization.
This is useful when you want your identity provider to be the single source of truth for who has access to Ona.