

Create an Automation
- Navigate to Automations in the left panel.
- Click New.
- Choose Start from scratch or select a pre-configured template.

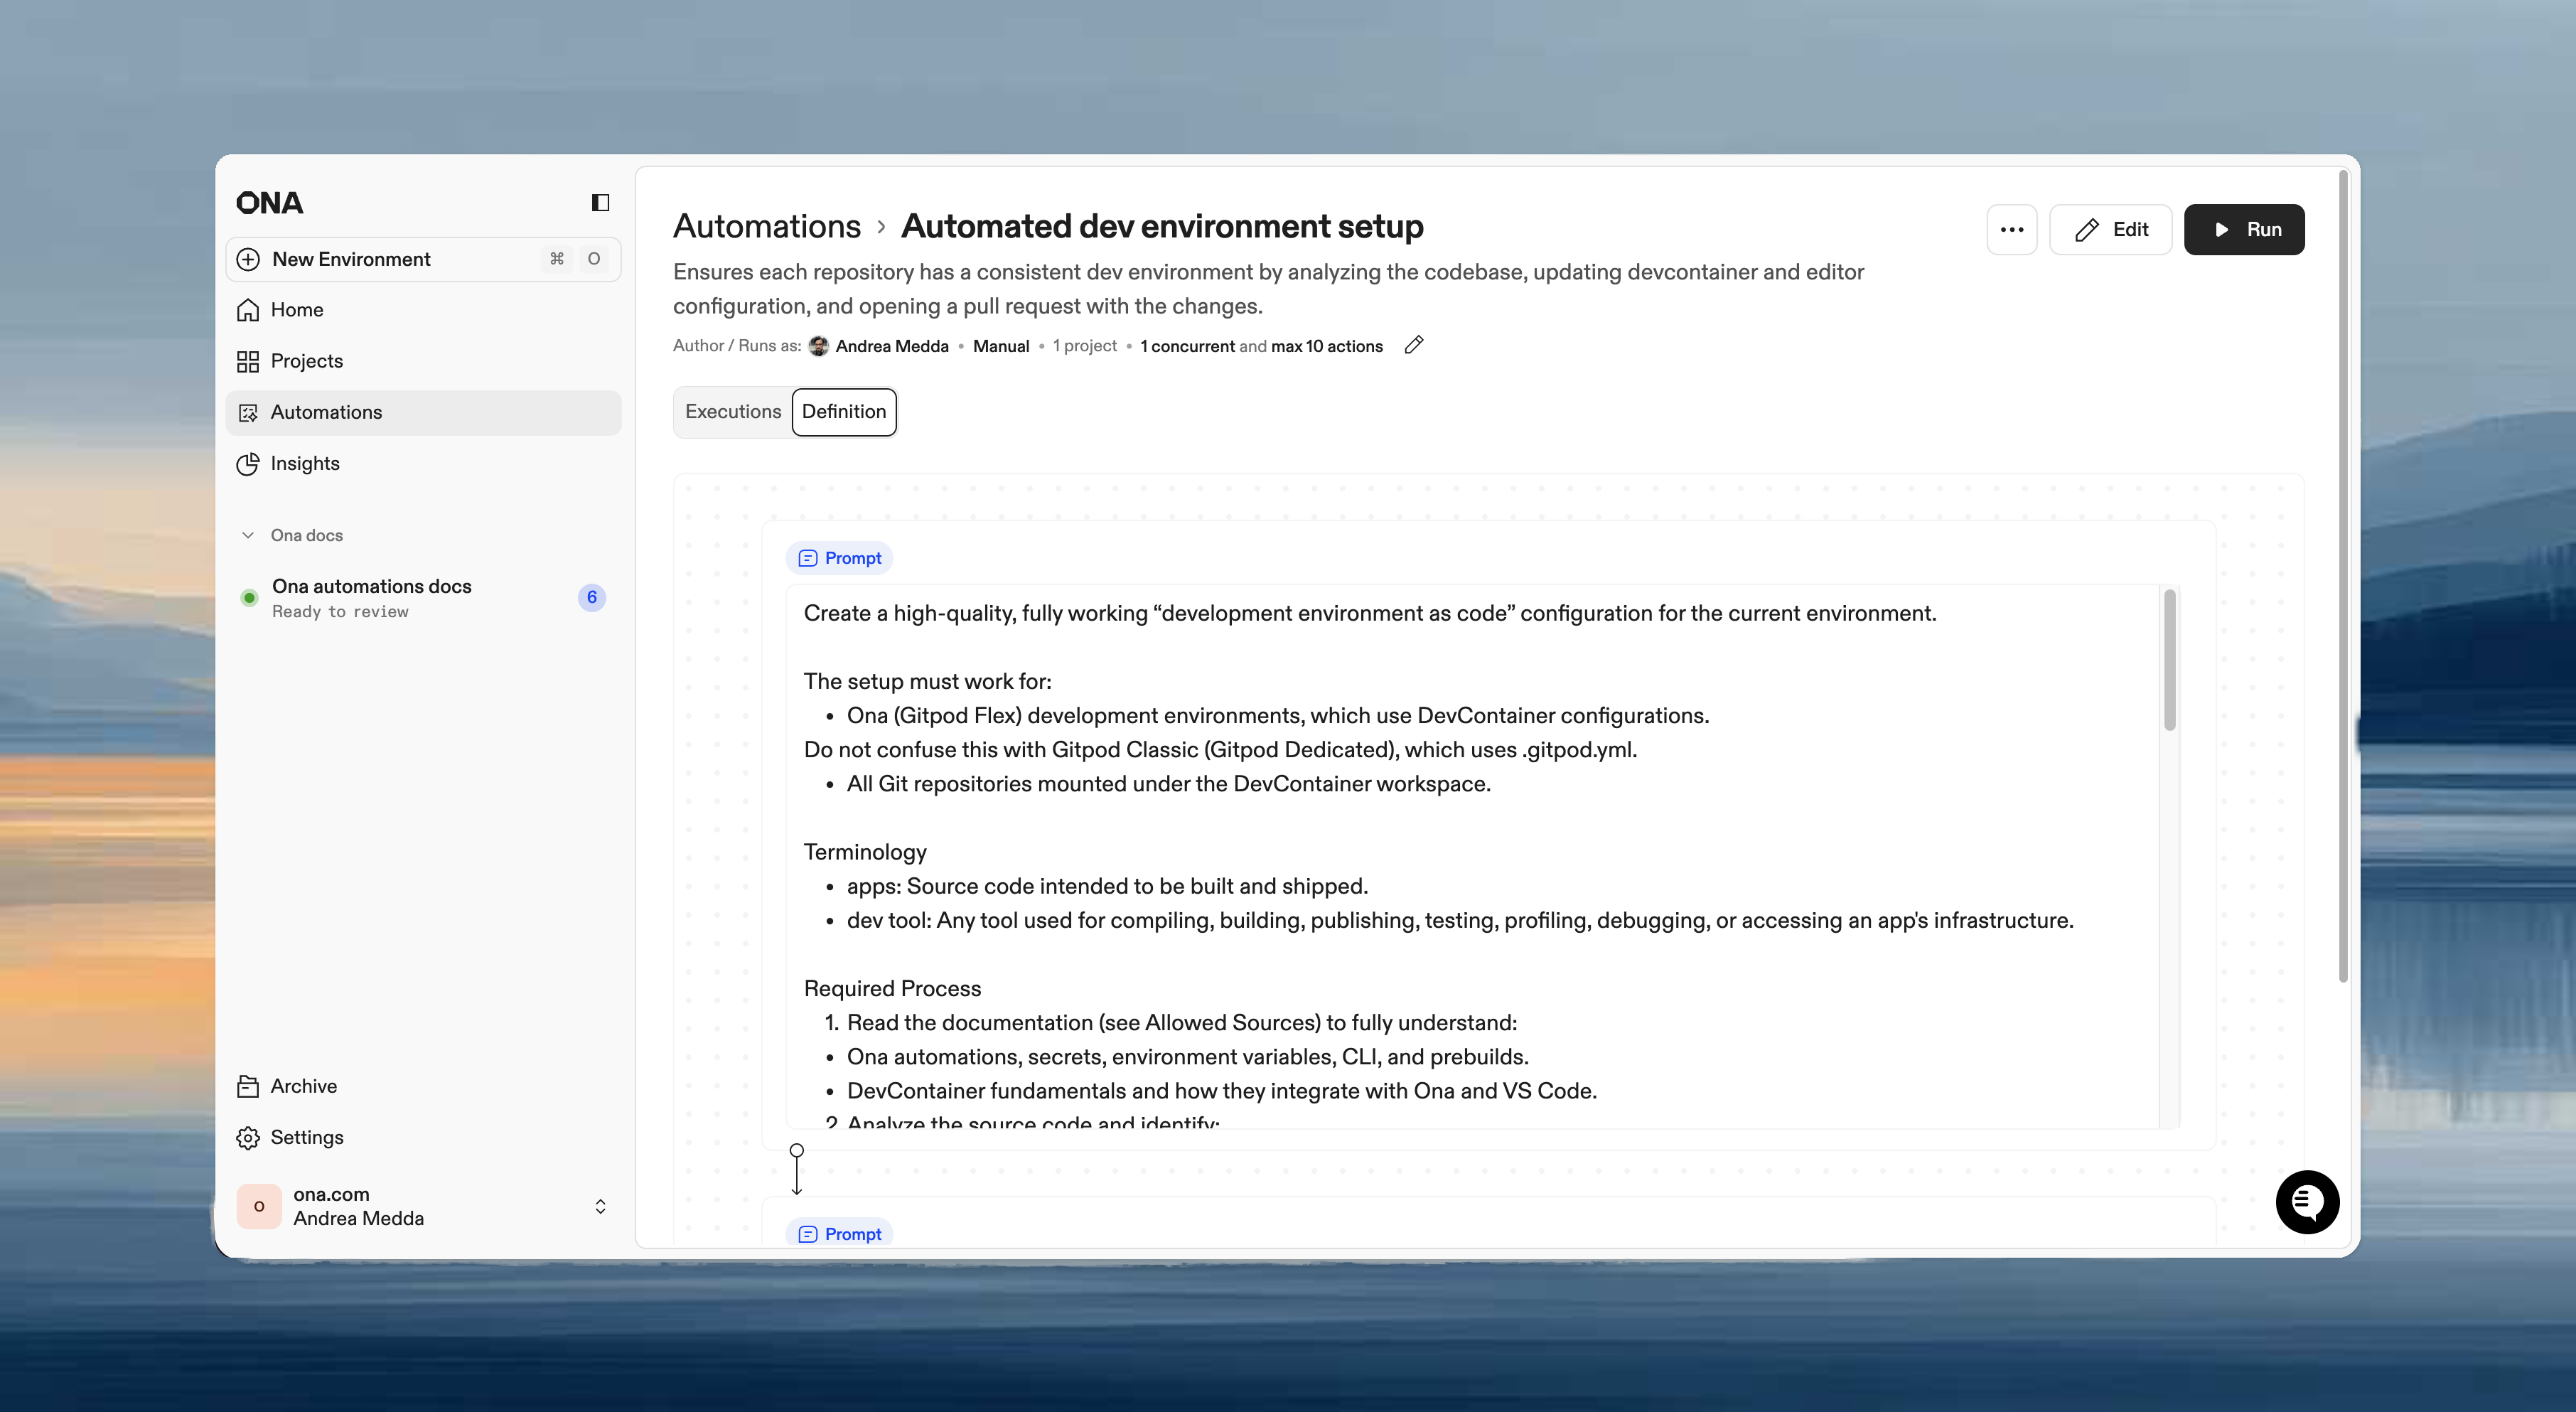
Name and description
To set or change the name and description, open the ⋯ menu on the Automation and select Rename. A dialog opens where you can edit both fields.Trigger type
- Manual: run on demand
- Pull request: trigger on PR events
- Scheduled: run on a schedule
Runs on
Each trigger includes a Runs on setting that determines where the Automation runs:
See Manual triggers and Pull request triggers for scope configuration details per trigger type.
Guardrails
Control execution limits to prevent Automations from running excessively:- Max concurrent actions: simultaneous runs
- Max total actions: total allowed per run
Run Automation as
The Run Automation as selector is at the bottom of the trigger configuration dialog.Steps
Steps execute in sequence within the same environment. Each step can access files, environment variables, and context from previous steps.Step types
Example workflow
- Use prompts for context-aware tasks that vary by repository.
- Use commands for predictable, repeatable operations.
- Combine both: commands for validation, prompts for intelligent changes.
Save and edit
Click Save to create the Automation. All settings can be modified after creation.Pull request triggers require an event source: GitHub (for GitHub.com) or a webhook. See Pull request triggers for details.
Enable and disable
Disable an Automation to stop it from running without deleting it. Disabled Automations keep their configuration, execution history, and triggers, but no new runs can start (manually or via triggers). To toggle an Automation:- From the list: open the three-dot menu on any Automation and select Disable or Enable.
- From the details page: use the toggle switch next to the Automation name.