This guide covers Automation configuration in detail. For a quick walkthrough, see Create your first Automation.
Automations work best with projects. A project provides the Dev Container configuration, dependencies, and environment settings that your Automation runs against. We recommend setting up a project before creating Automations. Create an Automation
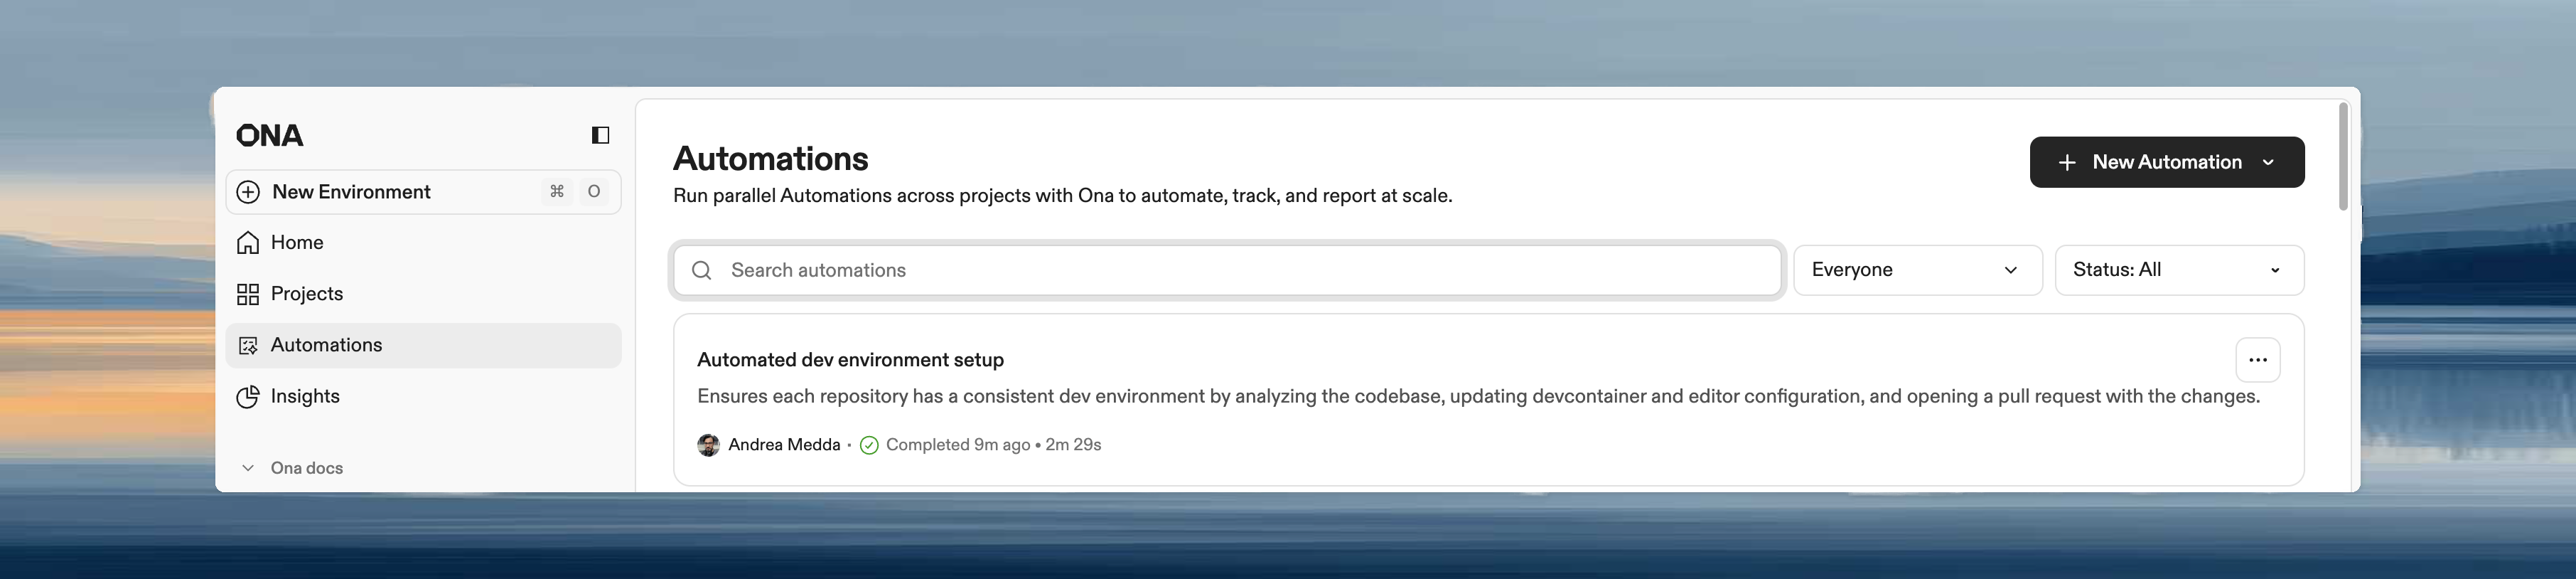
- Navigate to Automations in the left panel.
- Click New Automation.
- Choose Start from scratch or select a pre-configured template.
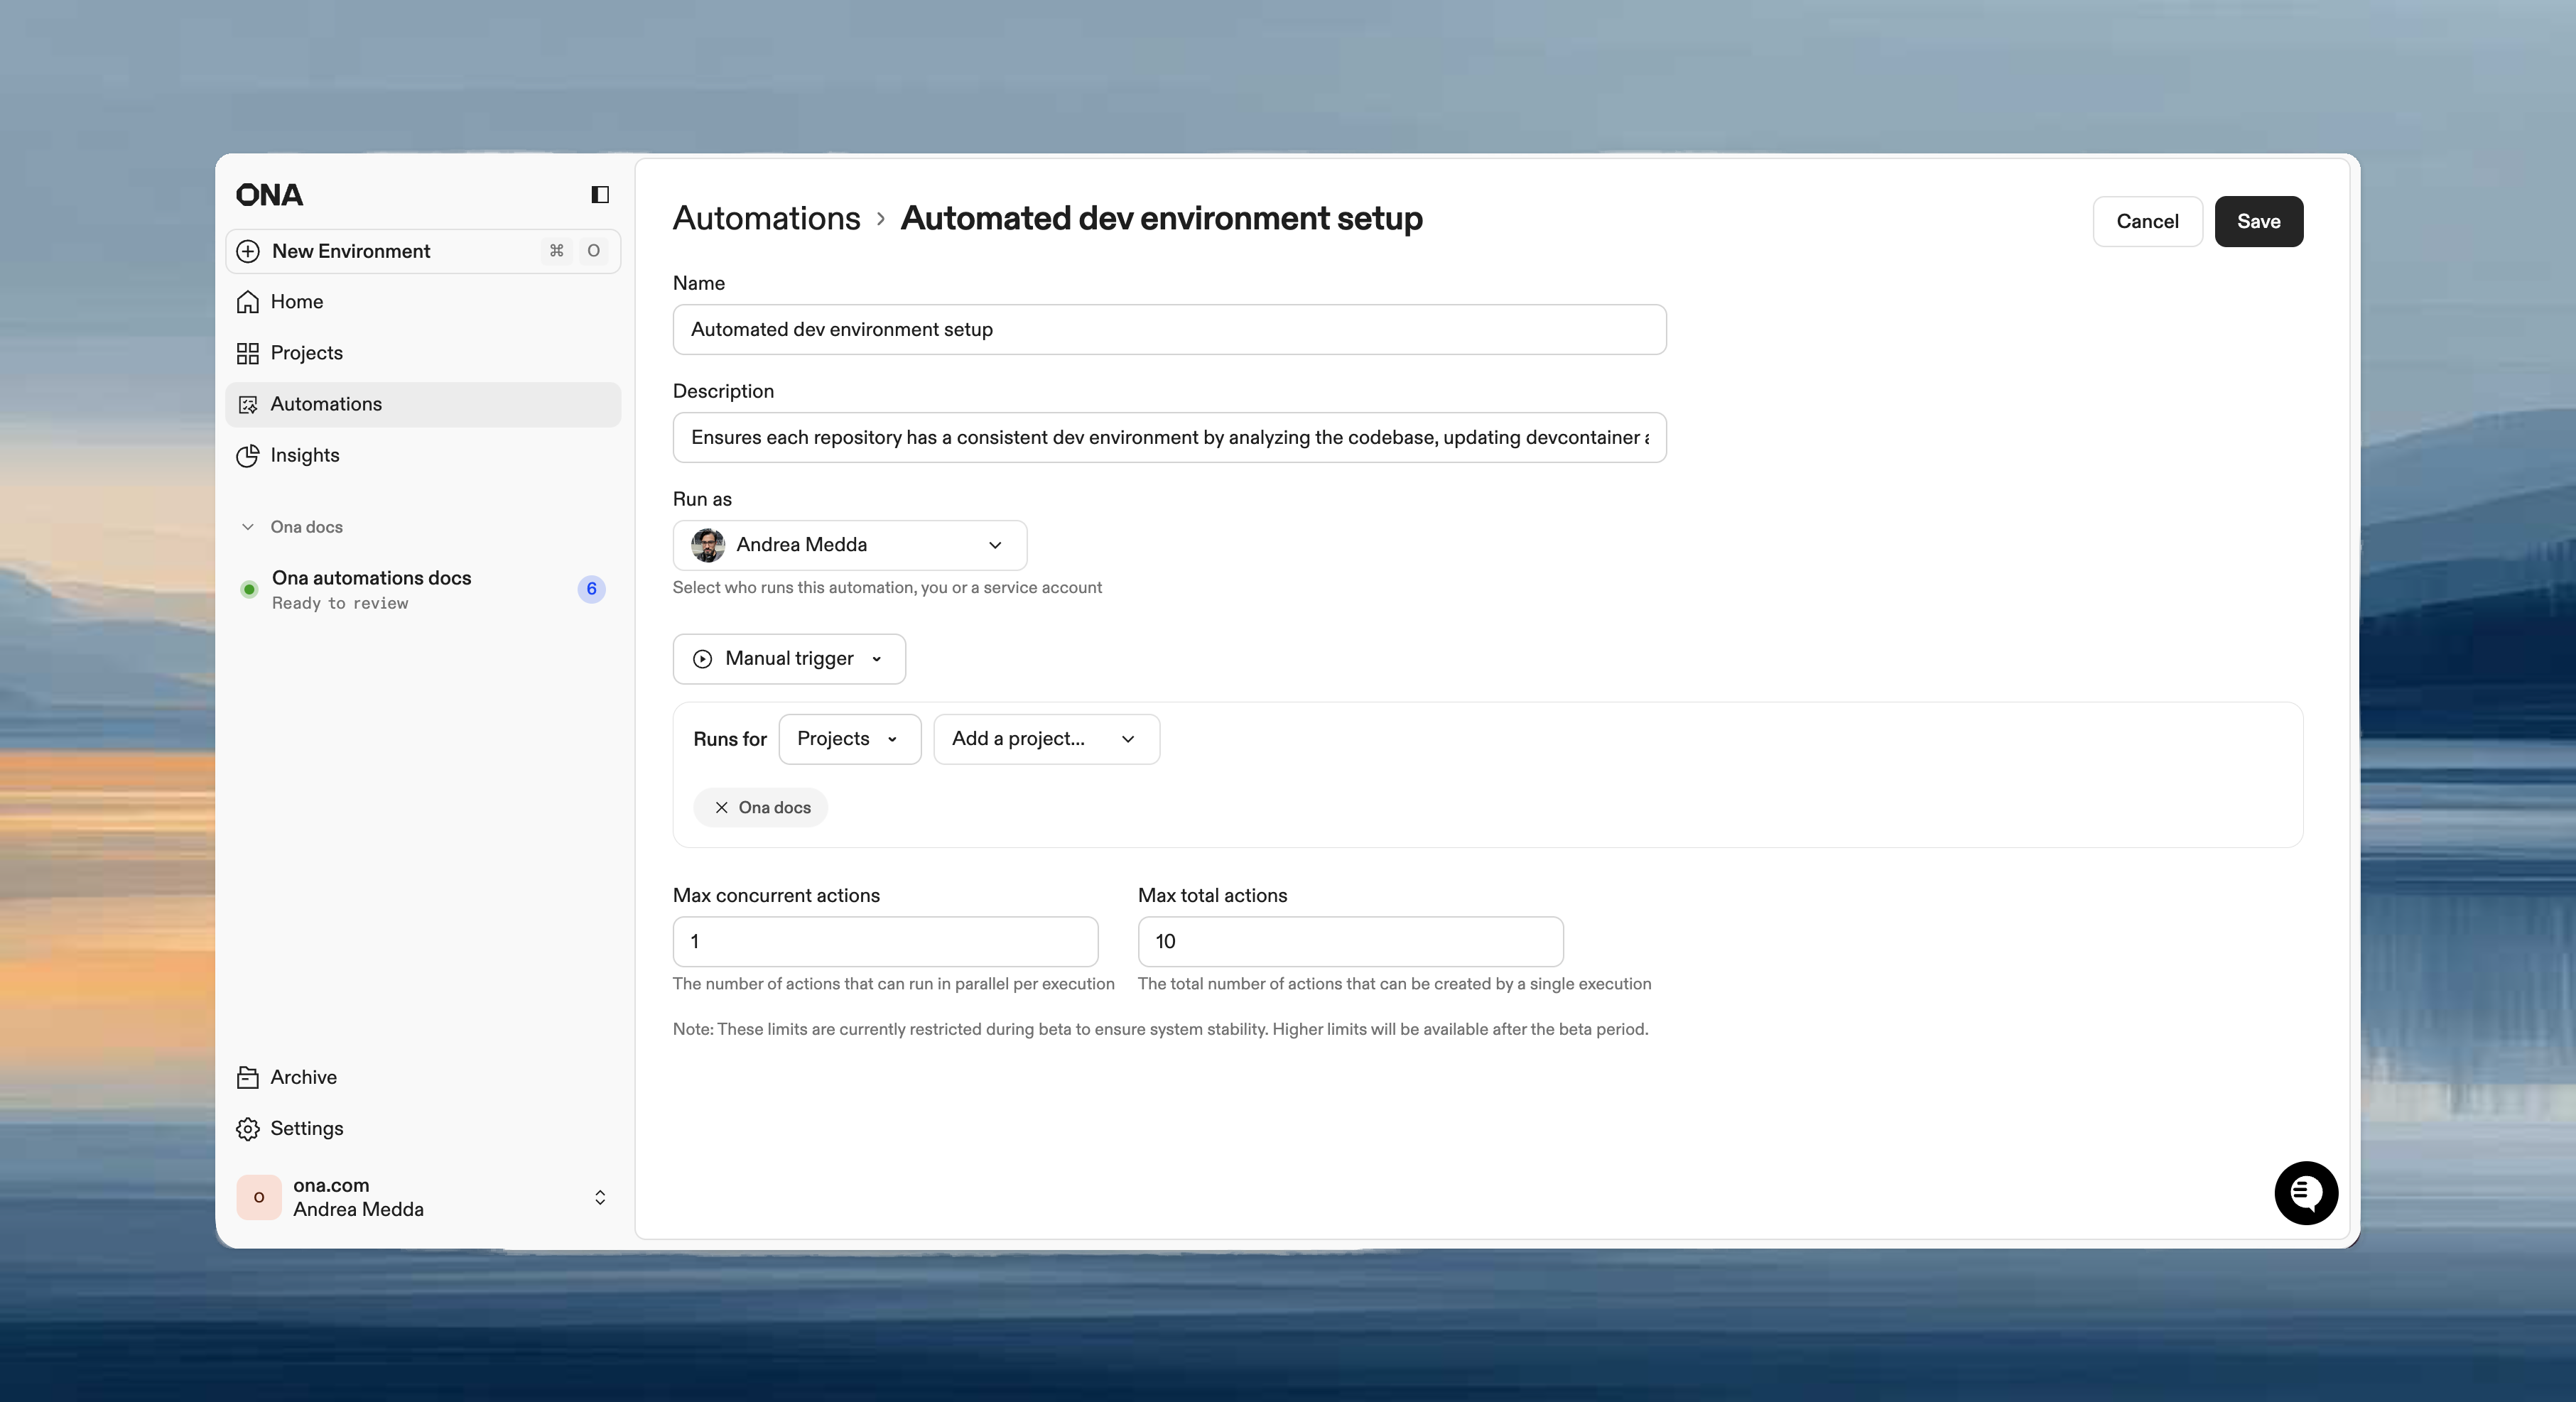
Basic settings
- Name: short, descriptive name (e.g., “Weekly dependency updates”)
- Description: what the Automation does
- Run as: your user (manual workflows) or a service account (scheduled/event-driven)
Trigger type
Target scope
Each trigger includes a target scope that determines where the Automation runs:
| Scope | Description |
|---|
| Projects | Run on specific projects. The Automation uses each project’s Dev Container configuration and environment settings. |
| Repositories | Run on repositories matched by explicit URLs or a search query. Use for large-scale migrations across many repos. |
| From trigger | Derive the target from the trigger event. For pull request triggers, this uses the PR’s repository automatically. |
| Agent | Run in an agent-managed environment with a custom prompt. The agent receives the prompt and manages the execution context. |
Guardrails
Control execution limits to prevent Automations from running excessively:
- Max concurrent executions: simultaneous runs
- Max total executions: total allowed per run
Maximum values depend on your plan. See Plans and limits for per-plan caps and Guardrails for details.
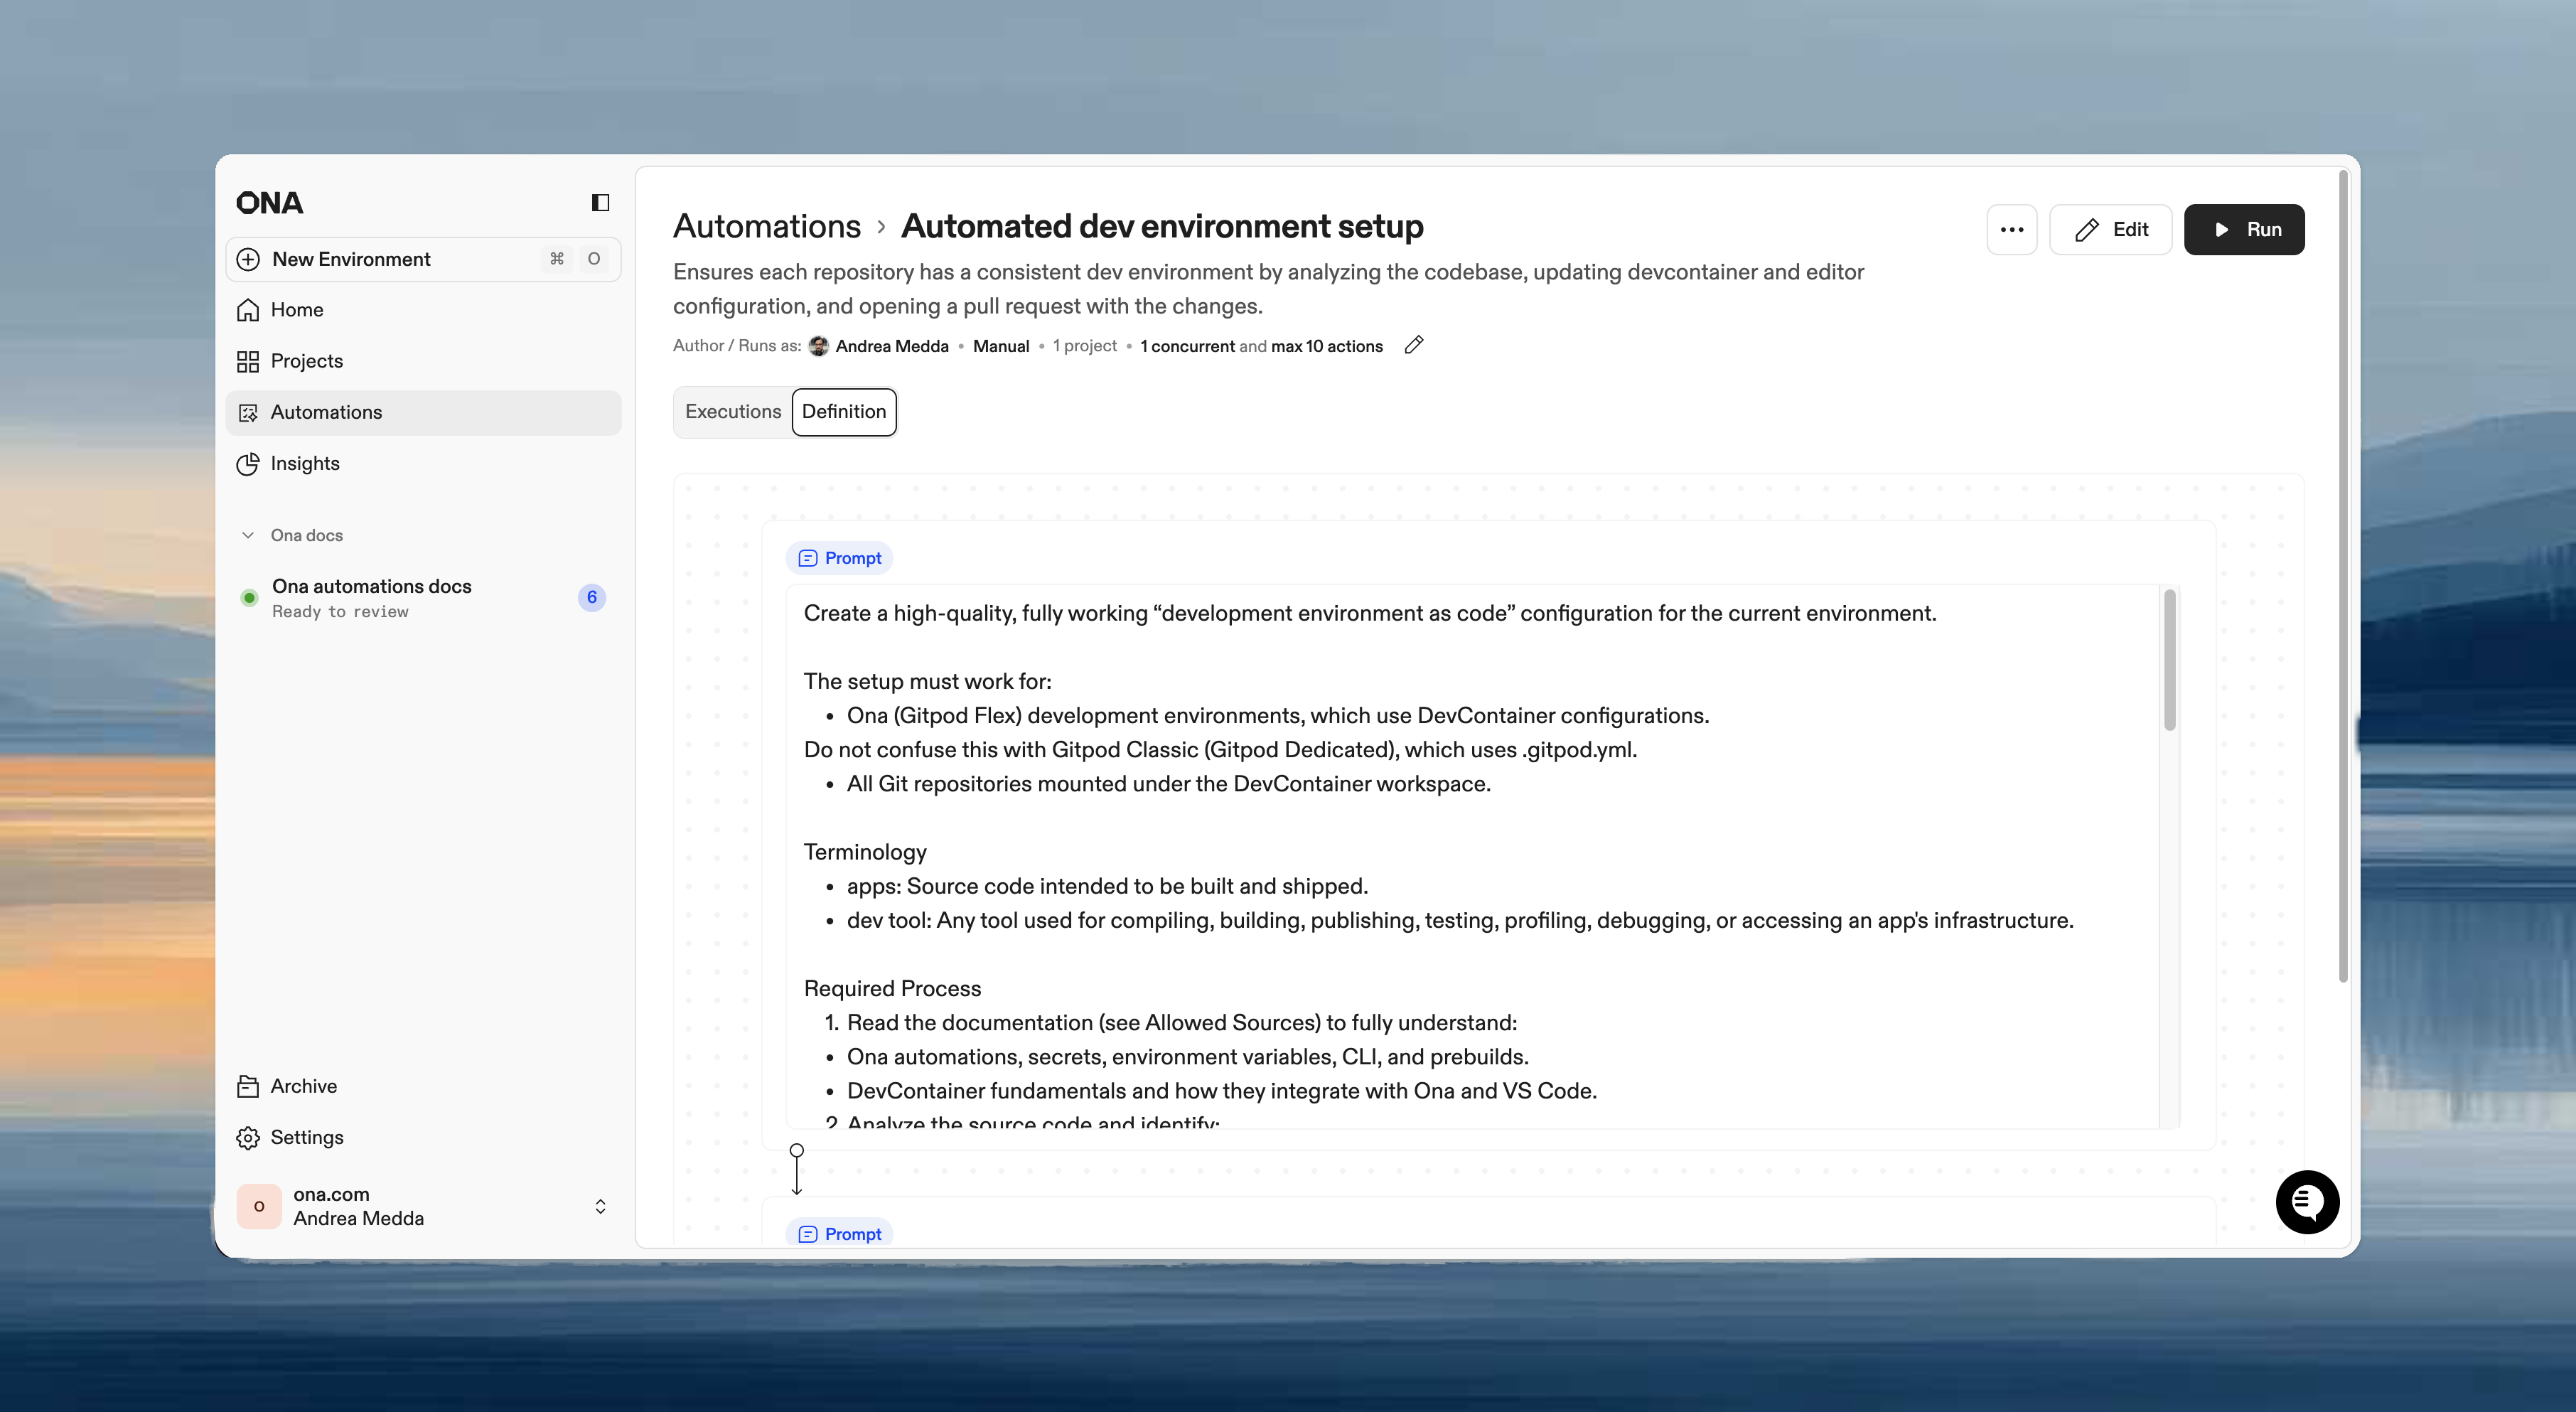
Steps
Steps execute in sequence within the same environment. Each step can access files, environment variables, and context from previous steps.
Step types
| Type | Use when |
|---|
| Prompt | Flexible tasks requiring agent judgment: “analyze and improve”, “update based on context” |
| Command | Deterministic operations: npm test, docker build |
| Pull request | Submit changes for review after making modifications |
| Report | Extract structured data from the execution: test coverage, dependency counts, build metrics |
Example workflow
Step 1 (Prompt):    "Upgrade all dependencies to their latest versions"
Step 2 (Command):   npm test
Step 3 (PR):        Create pull request with summary
- Use prompts for context-aware tasks that vary by repository.
- Use commands for predictable, repeatable operations.
- Combine both: commands for validation, prompts for intelligent changes.
Save and edit
Click Save to create the Automation. All settings can be modified after creation.
Pull request triggers require a webhook. Select an existing webhook or create a new one from the trigger configuration. See Pull request triggers for details. Enable and disable
Disable an Automation to stop it from running without deleting it. Disabled Automations keep their configuration, execution history, and triggers — but no new runs can start (manually or via triggers).
To toggle an Automation:
- From the list: open the three-dot menu on any Automation and select Disable or Enable.
- From the details page: use the toggle switch next to the Automation name.
Disabled Automations appear with muted styling in the list and show a “Disabled” status label. Use the Enabled / Disabled filter in the status dropdown to find them.
Disabling is useful when you want to pause a scheduled or event-driven Automation temporarily — for example, during a code freeze or while debugging a failing workflow — without losing its configuration.
Next steps

