- Walk you through a real world example with an existing Gitpod config
- Introduce you to prebuilds
- Demonstrate the benefits of ephemeral developer environments
Step 1: Clone Git repository
- Create a new repository based on the NextJS template.
- Name it e.g.
my-nextjs-template.
Step 2: Install Gitpod app
- Install the Gitpod App. Gitpod’s GitHub app is similar to a CI server and will continuously prepare prebuilds for all your branches and pull requests - so you don’t have to wait for installation of dependencies from the internet when you want to start coding.
Step 3: First prebuild
- Start your first workspace with a prebuild by prefixing https://gitpod.io#prebuild/ to the URL of the repository.
https://gitpod.io/#prebuild/https://github.com/<github_username>/my-nextjs-template
Gitpod displays the prebuild progress status by running the init commands in the .gitpod.yml file before you even start a workspace. Later, when you create a new workspace on a branch, or pull/merge request the workspace loads much faster, because all dependencies are already downloaded and the code is compiled. For more information see prebuilds.
Step 4: Enjoy being ready-to-code 🤙
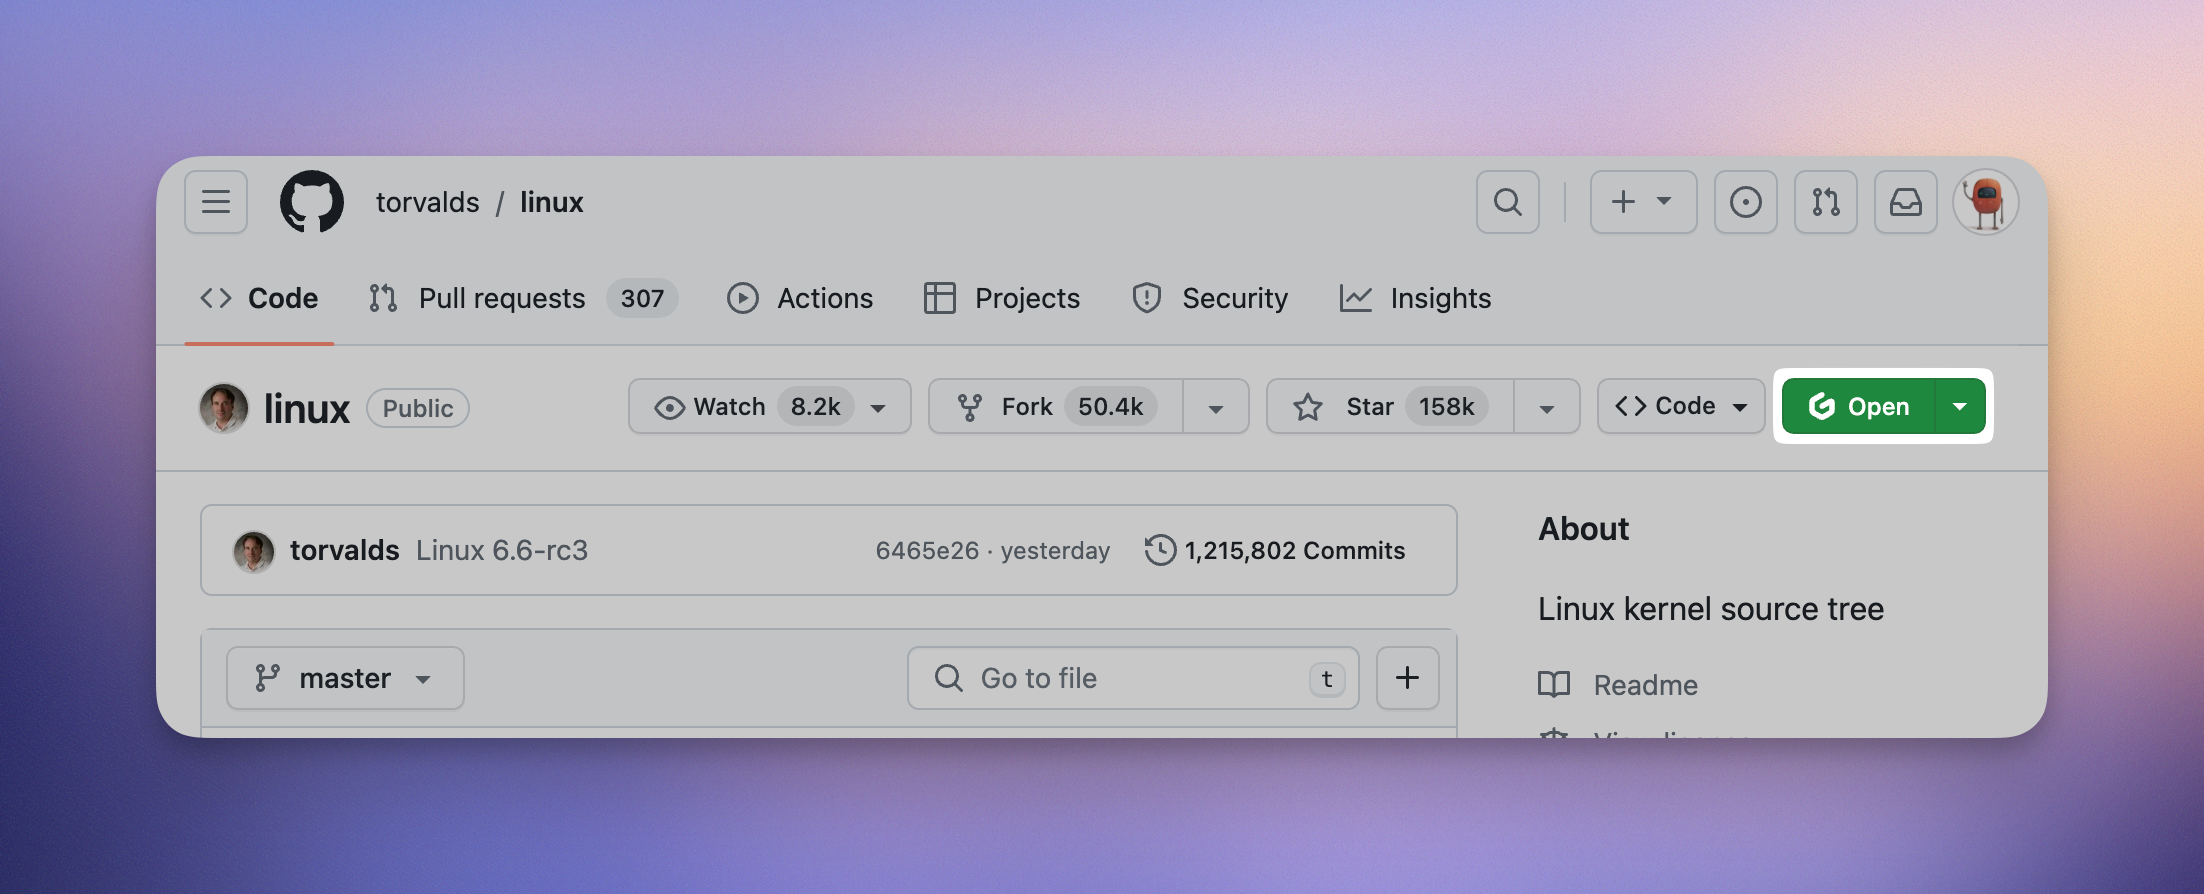
Once the first prebuild ran, Gitpod starts an automated and fully configured developer environment in a workspace that is now ready for you to develop. Other developers made their setup even more productive and supercharged their workflows with the following quick steps:- Installing the browser extension
gitpod.io/# so that you can easily open a new workspace from any Git context.

- Add your favorite VS Code themes and extensions
- Start throwing away workspaces like paper towels